

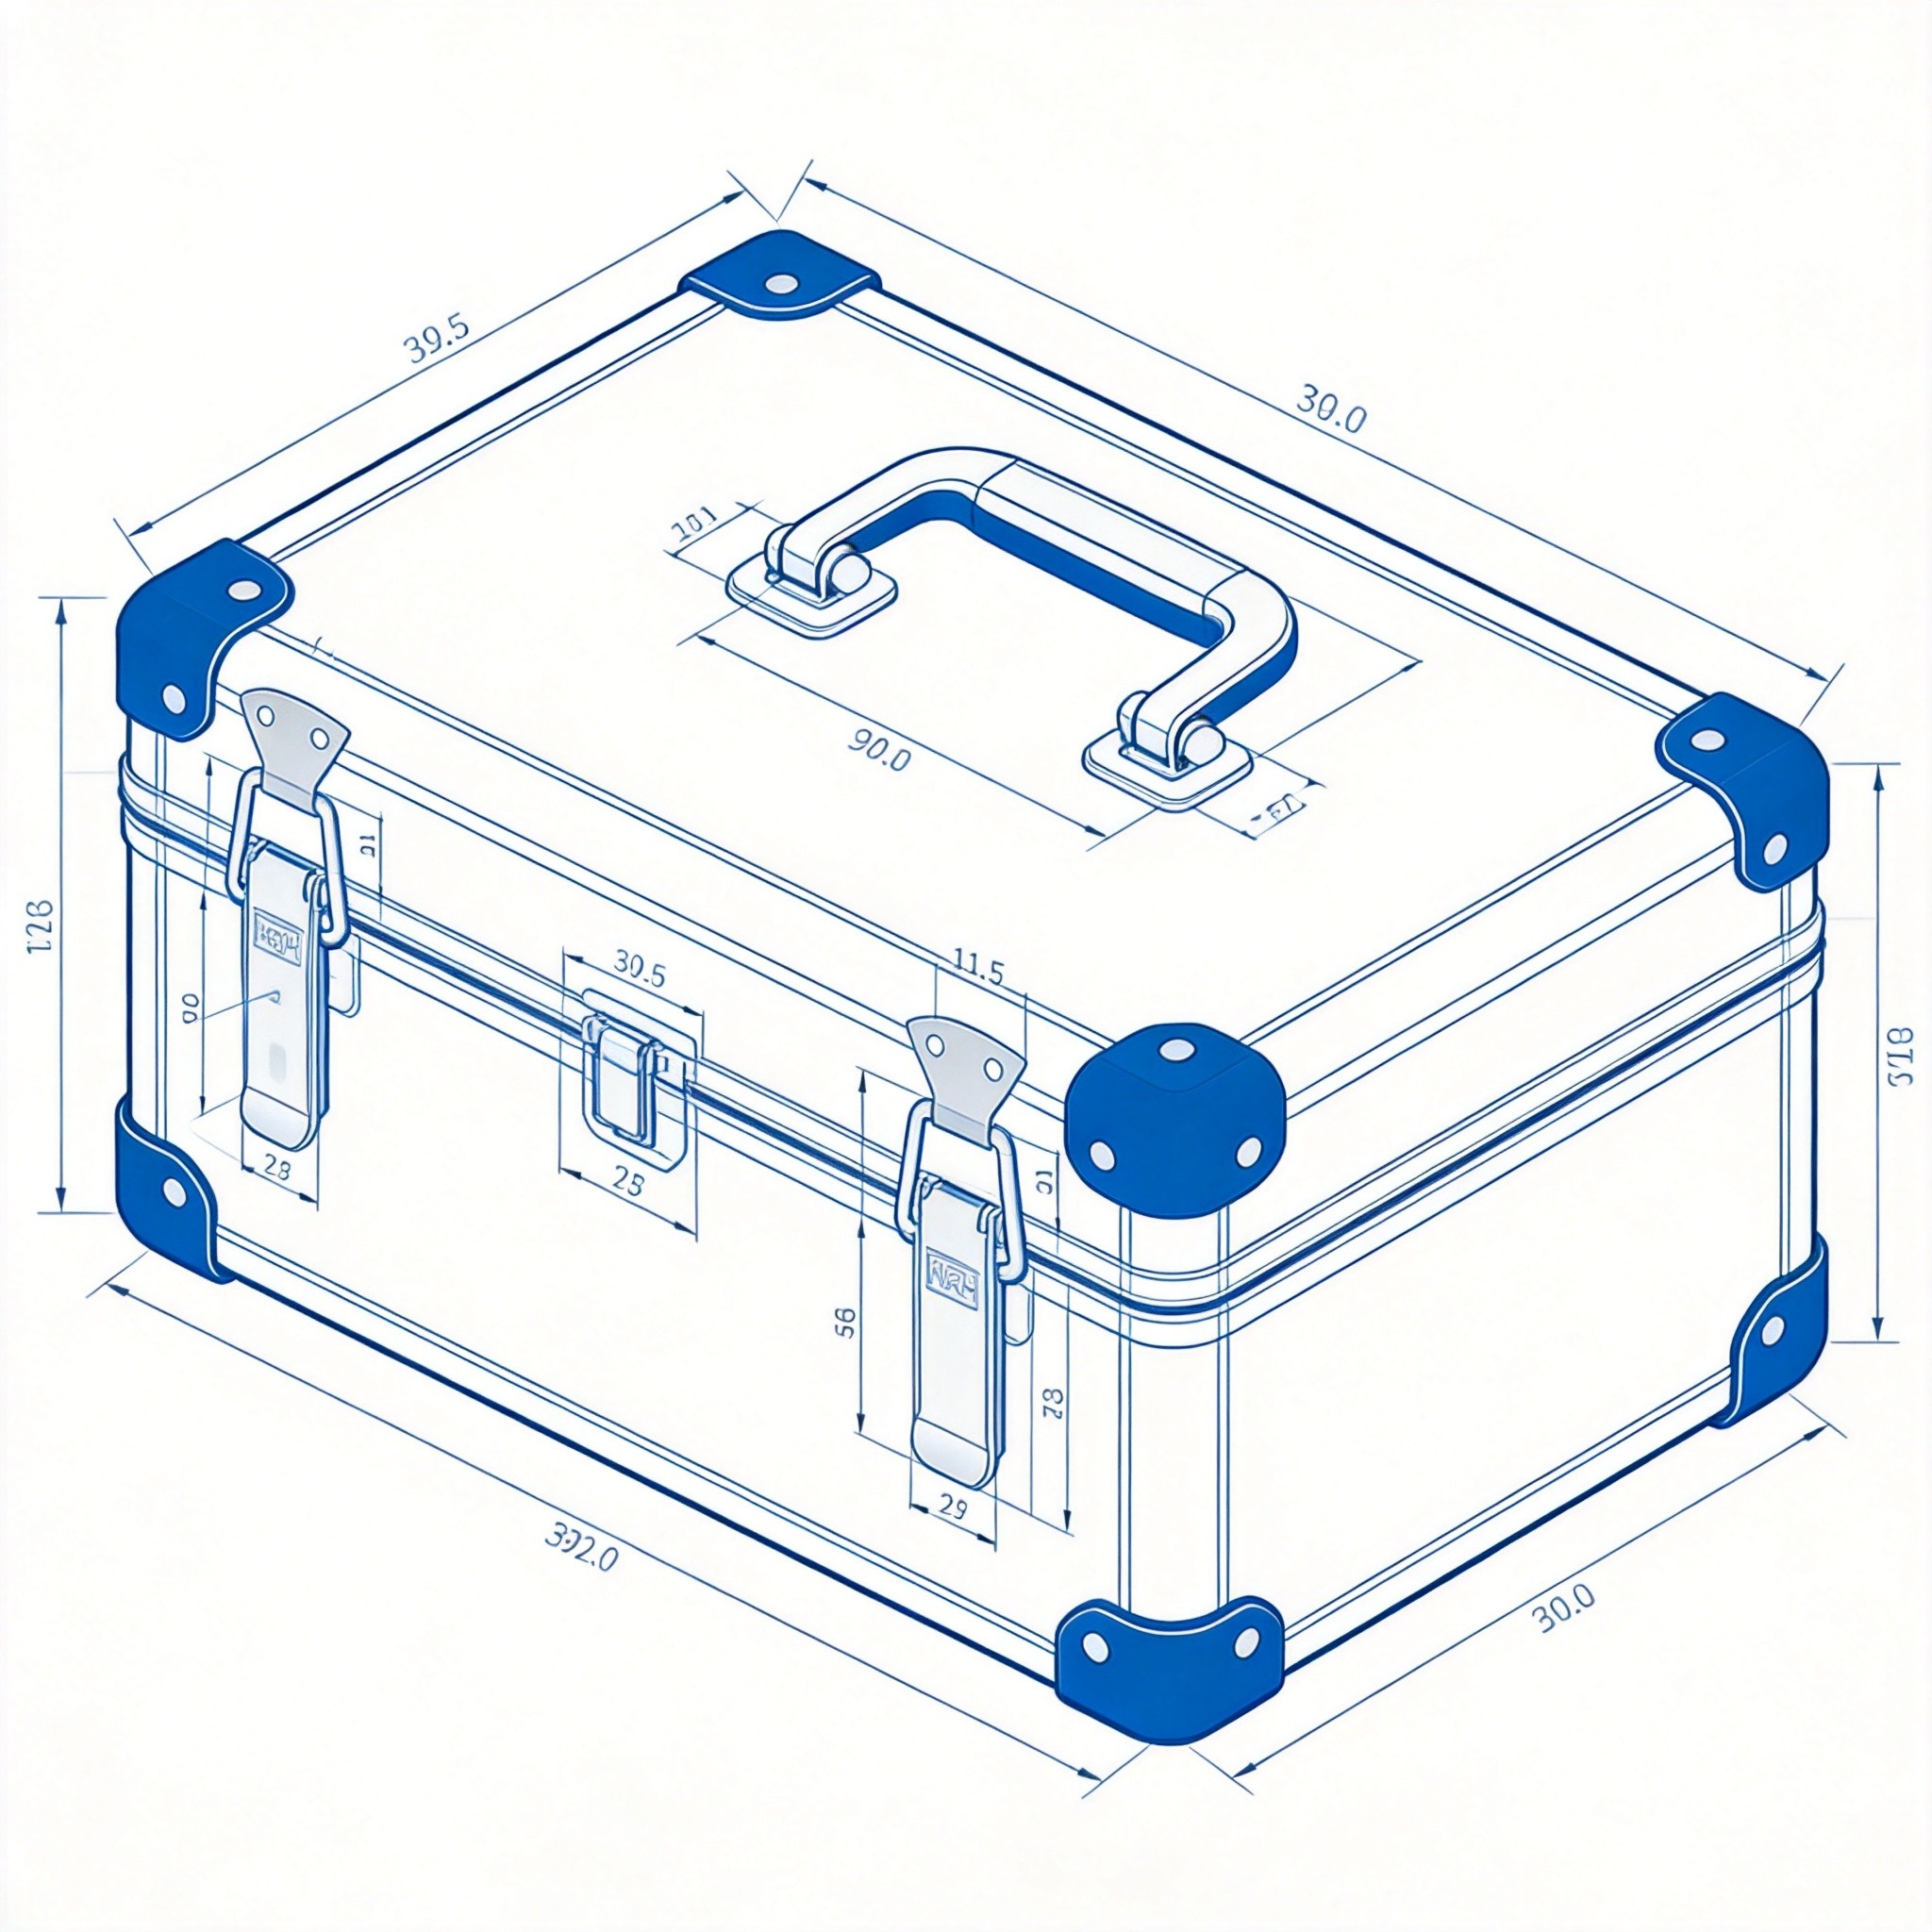
How to Calculate Hardware Requirements for Custom Case Builds: A Step-by-Step Guide
A standard 500 mm transit case needs two latches. A 1200 mm case needs four or more. Underspec hardware and the lid pops open in transit. Overspec and you pay for parts you do not need. This guide walks through the math behind latch count, handle load, hinge span, and corner protector quantity so you can spec a hardware list with confidence.
Step 1: How Many Latches Does Your Transit Case Need?
Latches hold the lid closed under vibration, stack load, and impact. The number required depends on three factors: lid length, lid weight, and the holding force per latch.
Start With Lid Length
Measure the long dimension of the lid in millimeters. Use this rule of thumb derived from common transit-case practice:
- Lid length below 400 mm: 2 latches
- Lid length 400-800 mm: 2-4 latches (add one latch per 200 mm above 400 mm)
- Lid length above 800 mm: 4-6 latches, evenly spaced
The goal is even spacing. If a 900 mm lid takes four latches, space them at roughly 225 mm centers. Uneven spacing creates stress concentrations at the widest unsupported span. When the case experiences vibration or stack load, the lid deflects more at these gaps, accelerating gasket wear and potentially causing latch fatigue failure.
Verify Against Holding Force
Count alone is not enough. Each latch must handle its share of the load. Divide the total force on the lid by the number of latches to get the per-latch demand.
Example: a 15 kg lid on a case transported in a vehicle experiences roughly 3g vibration. Total force = 15 kg x 3 = 45 kg. With two latches, each carries 22.5 kg. The 5101-96 draw latch is rated at 392 N tensile load – well above the 221 N (22.5 kg) demand. Two latches are sufficient.
For air freight or rough-terrain transport, consider using 4g-5g as the dynamic load multiplier to account for more severe vibration and impact forces.
For heavier lids, run the same check. If the per-latch demand exceeds 80% of the rated holding force, add another latch. The 80% threshold leaves margin for dynamic peak loads that exceed the baseline estimate.
Latch Type and Placement
Butterfly latches (6101 series) suit small to mid-size cases. Draw latches (5101 series) work for medium panels. Compression latches (5301 series) provide the tightest seal for gasketed enclosures. Place latches symmetrically. If an odd number is required – three on a 600 mm lid, for instance – center one latch and space the other two equidistant from the edges.

Step 2: Handle Load Capacity: Match Handles to Case Weight
Handles carry the entire case weight when lifted. The calculation is straightforward: total case weight divided by the number of handles gives the per-handle load. Compare that against the handle’s rated capacity.
Single-Person vs. Two-Person Carry
- Cases under 25 kg typically use one handle on each of two opposite sides (two handles total). One person grabs both handles. Each handle carries half the weight.
- Cases from 25-50 kg require two handles on each of two sides (four handles total). Two people lift, each carrying one side. Per-handle load = total weight / 4.
- Cases above 50 kg should use four bridge handles (4301 series) or consider casters instead. A single person should not lift 50 kg unassisted.
Handle Capacity Check
NRH recessed handle 4101-132 is rated at 60 kg. If a case weighs 40 kg and uses two handles, each handle carries 20 kg – well within the 60 kg rating. The 4101-160 recessed handle is rated at 80 kg, suitable for heavier builds.
Folding handles (4201 series) are rated lower. The 4201-100 folding handle is rated at 25 kg. Use these only on lightweight cases or as secondary handles on equipment panels, not as primary lift points for loaded transit cases.
Handle Placement Rules
- Center the handle on the panel side to balance the load.
- If the case is front-heavy due to internal equipment, offset handles 10-15% toward the heavy end so the carry angle stays level.
- Maintain at least 30 mm clearance between the handle recess and any latch to avoid finger pinch.
Step 3: Hinge Span and Placement for Secure Lid Support
Hinges carry the lid weight every time the case opens. They also maintain lid alignment over thousands of cycles. Two decisions matter: hinge type and hinge spacing.
Continuous vs. Heavy-Duty Hinges
Continuous hinges (piano hinges, 8001 series) run the full lid width. They distribute load across the entire span and keep the lid aligned. For cases with gaskets, a continuous hinge provides uniform compression. Available in widths from 25 mm to 100 mm and thicknesses from 1.0 mm to 2.0 mm.
Heavy-duty hinges (8101 series) mount at two or three points. They are lighter and faster to install but concentrate load at the screw points. The 8101-100 heavy-duty hinge is rated at 13 kg per leaf. Use at least three hinges for lids over 600 mm wide.
Support hinges (8131 series) hold the lid at 90 degrees. The 8131-70 is rated at 10 kg per stay. Use one on each side for lids up to 20 kg. For heavier lids, add a gas strut.
Hinge Span Calculation
For continuous hinges, the key parameter is material thickness. Thicker hinges and wider profiles support heavier lids. If the lid exceeds the hinge’s recommended capacity, step up to a thicker gauge or increase the hinge width.
For heavy-duty hinges, divide the lid weight by the number of hinges and check against the per-hinge rating. A 12 kg lid with three 8101-100 hinges: per-hinge load = 4 kg, well under the 13 kg rating.
Spacing for Hinges
Place the top hinge 100-150 mm from the top edge and the bottom hinge 100-150 mm from the bottom edge. For a three-hinge layout, center the third hinge at the midpoint. This arrangement minimizes lid sag and keeps the hinge screws in shear rather than peel.
Environmental Considerations for Hinge Selection
Beyond mechanical load, hinge selection must account for environmental conditions. For outdoor or marine applications, specify SUS304 stainless steel hinges for corrosion resistance (48-72 hours salt spray per ASTM B117). For indoor use, FE-CR (chrome-plated iron) provides adequate protection at lower cost (48-72 hours salt spray). FE-NI (nickel-plated) offers a chromium-free option with 24-48 hours salt spray resistance.
Step 4: Corner Protector Quantity and Size Selection
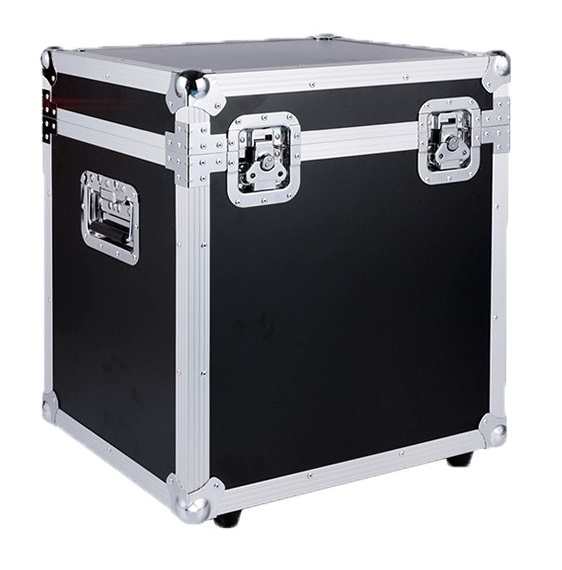
Corner protectors absorb impact at the eight corners and twelve edges of a rectangular case. They do not carry structural load – their job is to prevent denting and splitting at the most vulnerable points.
How Many Corners?
Every rectangular case has exactly eight corners: four on the lid and four on the base. The minimum hardware list includes one corner protector per corner. No exceptions.
For cases that stack, add four flat corners (7101 or 7301 series) on the base to distribute the weight of the case above. These sit between the bottom case and the one stacked on top, preventing edge crush.
Size Selection
Match the corner protector size to the case panel thickness. A 7101-47 flat corner (47 mm leg) fits panels from 6-12 mm thick. A 7101-66 (66 mm leg) fits panels from 12-20 mm. A 7601-30 corner protector fits standard aluminum extrusion profiles.
3D box corners (7201 series) wrap around three faces of the case corner. They provide more coverage than flat corners but require more rivets. The 7201-50 in FE-CR is a common choice for road cases.
Material and Finish
FE-CR (iron, chrome-plated) is the standard choice for indoor and general-purpose cases, offering good impact resistance at a moderate cost. SUS304-ZG (stainless steel with vibratory finish) is required for outdoor, marine, and food-processing applications where corrosion resistance is critical. The stainless option typically adds 40-60% to the per-piece cost but provides superior corrosion protection in demanding environments.
Complete Hardware Planning Checklist
| Item | Calculation | Reference |
|---|---|---|
| Latches | Lid length / 200 mm (minimum 2); verify per-latch load less than 80% rated force | 5101 / 5301 / 6101 series |
| Handles | Total weight / number of handles; compare to rated capacity | 4101 / 4201 / 4301 series |
| Hinges | Lid weight vs. span vs. thickness; continuous for gasketed, heavy-duty for lighter lids | 8001 / 8101 / 8131 series |
| Corner protectors | 8 corners minimum; add 4 flat corners for stackable cases | 7101 / 7201 / 7301 / 7601 series |
| Fasteners | Count screw holes per part; add 10% spare | M4 / M5 / M6 per hardware spec |
| Surface finish | FE-ZL for dry indoor; FE-CR for general; SUS304-ZG for corrosive; FE-NI for chromium-free | Salt spray: FE-ZL 48-72h / FE-CR 48-72h / FE-NI 24-48h / SUS304 48-72h |
Fill in the actual numbers for your specific case. The table forces a reality check: if the per-latch load is above 80% of rated, or the per-handle load exceeds the capacity, the hardware list needs revision before procurement.
Need help calculating hardware for your custom case?
Get a free hardware specification review from our engineering team.
Quick Reference: Hardware Quantity by Case Size
| Case Size | Recommended Latches | Recommended Handles | Hinge Type | Corner Protectors |
|---|---|---|---|---|
| Under 400 mm | 2 | 2 | Heavy-duty hinges (2) | 8 |
| 400-800 mm | 2-4 | 2-4 | Continuous piano hinge | 8 |
| 800-1200 mm | 4-6 | 4 | Continuous piano hinge | 8 |
| Over 1200 mm | 6+ | 4+ | Continuous piano hinge | 8 + 4 flat (stackable) |
Note: This table provides general guidelines. Actual quantities depend on specific load calculations and should be verified against rated capacities.
Common Mistakes to Avoid:
- Using too few latches: The lid gaps at unsupported spans, accelerating gasket wear and latch fatigue.
- Mixing latch types: Different holding forces create uneven seal compression.
- Ignoring handle load rating: A handle rated for 25 kg cannot safely carry a 40 kg case.
- Overtightening hinge screws: This can strip threads in plywood or deform aluminum extrusions.
- Forgetting corner protector screws: Loose corners offer no impact protection.
Complete Design Example: 400 mm Instrument Case
To illustrate the full calculation process, here is a complete design example for a typical instrument transit case.
Case Specifications:
- Box dimensions: 400 mm (L) x 300 mm (W) x 200 mm (H)
- Loaded weight: 8 kg (instrument + foam lining)
- Lid weight: 2 kg
- Usage environment: Indoor transport, occasional vehicle carriage
Step 1: Latch Calculation
- Lid length: 400 mm (below 400 mm threshold)
- Recommended latches: 2
- Dynamic load check: 2 kg lid x 3g vibration = 6 kg total force
- Per-latch load: 3 kg (6 kg / 2)
- 5101 series draw latch rated at 392 N (approx. 40 kg) – well within capacity
Step 2: Handle Calculation
- Total weight: 8 kg (under 25 kg threshold)
- Recommended handles: 2 (one on each opposite side)
- Per-handle load: 4 kg
- 4101-132 recessed handle rated at 60 kg – well within capacity
Step 3: Hinge Selection
- Lid weight: 2 kg (under 600 mm width threshold)
- Recommended hinges: 2 heavy-duty hinges (8101 series)
- 8101-100 rated at 13 kg per hinge – well within capacity
Step 4: Corner Protectors
- 8 corners: 8 flat corners (7101 series)
- Panel thickness: 9 mm plywood – 7101-47 (fits 6-12 mm)
- No stacking requirement – no additional base corners needed
Final Hardware List:
- 2 x 5101 series draw latches (FE-CR finish)
- 2 x 4101-132 recessed handles (FE-NI finish)
- 2 x 8101-100 heavy-duty hinges (FE-CR finish)
- 8 x 7101-47 flat corners (FE-CR finish)
- Fasteners: M4 screws + nuts (count based on screw holes + 10% spare)
Fastener Selection and Installation Guidelines
Fastener Selection Guide
Choosing the right fastener is as important as choosing the right hardware. Different case materials require different fastening methods:
- Rivets: Recommended for aluminum extrusion and thin-wall metal cases. They provide quick installation and good shear strength. Use aluminum rivets for aluminum cases to avoid galvanic corrosion.
- Self-tapping screws: Ideal for plywood, plastic, and composite cases. Pre-drill pilot holes to prevent splitting. For plywood, use screws with coarse threads for better grip.
- Machine screws + nuts: Best for cases that require frequent disassembly or maintenance. Use with T-nuts or threaded inserts for clean, reusable threads.
Recommended fastener sizes:
- Small hardware (latches, small corners): M4 or #8 screws
- Medium hardware (handles, larger hinges): M5 or #10 screws
- Heavy hardware (large handles, support hinges): M6 or 1/4 inch screws
Installation Spacing Guidelines
Proper spacing between hardware components prevents interference and ensures even load distribution:
- Latches: Minimum 30 mm clearance from any edge. Center on the available panel space for even clamping force.
- Handles: Minimum 40 mm clearance from edges. Allow sufficient finger clearance (at least 25 mm between handle recess and any obstruction).
- Hinges: Place the top hinge 100-150 mm from the lid edge. Place the bottom hinge 100-150 mm from the base edge. For three-hinge layouts, center the third hinge at the midpoint.
- Corner protectors: Align with the corner edges of the case. Use 2-3 rivets per corner for secure attachment.
Maintenance Checklist
Regular maintenance extends the service life of your case hardware and prevents failures in the field. Follow this schedule based on usage intensity:
Quarterly Inspection (High-Use Cases)
- Check latch hooks and keepers for wear or deformation
- Verify handle mounting screws are tight
- Inspect corner protectors for impact damage
Annual Inspection (All Cases)
- Check hinge pins for wear or play
- Inspect surface finishes for corrosion or damage
- Apply light machine oil to pivot points on high-use hardware
- Replace any fasteners showing signs of corrosion
Signs That Hardware Needs Replacement:
- Latch no longer locks securely or has excessive play
- Handle shows visible wear tracks or cracks
- Corrosion has penetrated the surface finish
- Hinge pin has visible wear or the lid sags when open
Frequently Asked Questions
How many latches does a standard transit case need?
Two latches for lids under 400 mm. Add one latch per 200 mm of additional lid length. A 900 mm lid typically needs four latches evenly spaced.
What happens if I use too few latches?
The lid gaps at the unsupported spans. Under vibration, the gap opens and closes, which accelerates gasket wear and can cause the latch to fail prematurely from fatigue.
How do I calculate handle load?
Divide the total loaded case weight by the number of handles. Compare the result to the handle’s rated capacity. Keep the per-handle load below 80% of the rating to account for dynamic lifting forces.
Should I use continuous hinges or heavy-duty hinges?
Continuous hinges for gasketed cases and lids over 600 mm. Heavy-duty hinges for lightweight non-gasketed lids under 600 mm. Continuous hinges cost more but provide better alignment and seal compression.
How many corner protectors does a case need?
Eight – one for each corner of the rectangular case. Add four flat corners on the base if the case will be stacked. Corner protectors do not carry structural load; they prevent impact damage at the most exposed points.
What surface finish should I choose for outdoor cases?
SUS304-ZG (stainless steel with vibratory finish) for outdoor and marine environments, offering 48-72 hours salt spray resistance per ASTM B117. FE-CR (chrome-plated iron) works for general indoor use and provides similar 48-72 hour protection. FE-NI (nickel-plated) offers a chromium-free option with 24-48 hour protection.
Do I need support hinges for heavy lids?
Yes. The 8131-70 support hinge holds the lid at 90 degrees and is rated at 10 kg per stay. Use one on each side for lids up to 20 kg. For lids heavier than 20 kg, add gas struts instead.
Can I mix different latch types on the same case?
Not recommended. Different latch types have different holding forces and engagement depths. Mixing them creates uneven seal compression and makes the lid harder to close properly. Use the same model across all positions.
Need help choosing? Contact the NRH team at nrh-gz@nrh.cn or WhatsApp at +86 180 1797 5137. You can also visit the headquarters at Room 1703-1704, Zhongji Building, No. 819 Yinxiang Road, Nanxiang Town, Jiading District, Shanghai, China.